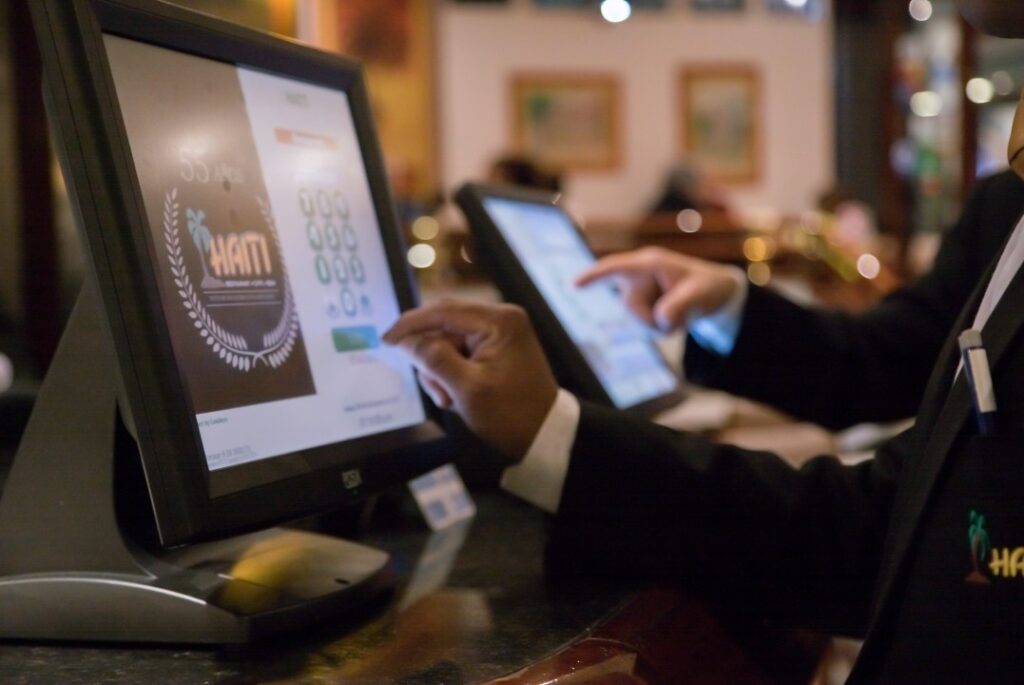
eTIMS integrated PoS Software
POINT OF SALE SYSTEM WITH PREMIUM MODULES FOR BUSINESS
eTIMS Compliant POS System is easy to use, Sales transactions are saved on the device, can be backed up to a remote or fixed server and can be pushed to a cloud.
Front Of House/Office

We combine cutting edge touch screen technology, incredible functionality and proven performance to help you achieve the following in your business:
- Prevents order errors
- Speeds up service
- Improves accuracy of payments
- Tracks inventory
- Cutting edge touch-screen technology
- Incredible functionality & proven performance
Back Office
Integration with Digital inventory control opens a new world of data on your business. A company can derive actionable intelligence from the system without any particular expertise.
- Inventory Control
- Simplify the accounting process
- Manage business operations
- Identify opportunities to improve profit margins
- Developed for the hospitality industry
- Integrates to all established POS systems
- Provides management detailed reporting allowing an establishment to run pro-actively Point of Sale business system suitable for all retail, hotel, wholesale and service businesses.
USER MANAGEMENT MODULE:
Adding users
- User Management-> Users-> Add New
- Fill the user details, select user role, and give a unique username.
- Sales Commission Percentage (%): Provide the commission% for this user.
- This option gets applied if the commission agent feature is enabled.
- Is active? Activate/Deactivate the user.
Adding Roles
- Every new business comes with some default roles -Admin & Cashier
- Admin have all permissions in the eTIMS Compliant POS System.
- Cashier has permission to only POS section.
- You can create a role by clicking on Add button -> giving a role name and then selecting the appropriate permission for that role.
- Sometime you may need to give a user access to a/some particular location(s) only. In this case, select the locations from “Access locations” permission. Select “All Locations” to give permission to access all locations for your business.
- Role’s permissions can be edited & deleted.
Note: You must update the role of an existing user before deleting a roles
Adding Suppliers & Customers
Any contact can be supplier, Customer or Both (Supplier & Customers)
- Go to Contacts -> Suppliers or Customer
- Click on add new contact. Select contact type – Supplier/Customer/Both
- Based on the contact type selected — it will show the relevant fields. Fill the relevant details.
- Click on More Information button to see more field.
- Pay Terms: This will help the system to notify you of any pending payments for suppliers & customers. You can specify pay term in either days or months.
- Credit Limit: This is the maximum amount of credit that can be given to the customer. If in any sales the credit exceeds this amount then it won’t allow selling on credit.
- Opening Balance: Opening balance of a customer or supplier before you start using POS. So, if there is any previous balance you can add here.
- Advance balance: Sometimes customer/supplier pay/takes money in advance.
This will show the amount of advance balance paid or take by the customer/supplier respectively.
Viewing Suppliers & Customers
- To view details about a Supplier or Customer click on View button. It will show the complete details along with the relevant transactions (Purchases & Sales) for that contact.
- Pay Due amount: You can use this button to pay the due amount for a
- Customer or supplier. This will pay the overall due amount for all invoices. Assigning Contacts to Users

Discount for balance due amount can be added for customer/supplier. Click the add discount button on the customer/supplier ledger screen
On clicking the button it shows a popup, enter the details and click save. The discounted amount will be accounted for in their ledger
NOTES
NOTE 1: This discount can only be added by the admin and not by other users. NOTE 2: Also, the Ledger Discount is different from the Sale Discount.
Customer Groups:
With customer Groups, you can classify a customer as Retail Customers, Wholesale Customer, Friends, Colleagues or whatever you will like to use on the eTIMS Compliant POS System.
- To add a “Customer Group” go to Contacts -> Customer Groups & Click on “Add” button.
- It will show a popup asking for customer group name & Calculation Percentage. Calculation percentage is used to calculate selling price.
This feature is highly useful when you have retail, wholesale or different customer categories.
You can view report for different customer group from “Customer Groups Report” or in other terms if you have retail and wholesale customer group you can see which type of customer group is giving more sale.


One comment
temp mail
“Outstanding post! The research quality and clarity blew me away. The way you’ve structured each point shows your deep understanding of the topic. I’ve learned so much from your expert insights.”